In this section, we continue our lab preparation by setting up the vulnerable Hack-it-yourself PHP Auction web application. This application, along with the DVWA configured in the previous lesson, serves as a security testing platform. Our goal is to use the F5 AWAF module during the course to identify and remediate these vulnerabilities to improve web application security.
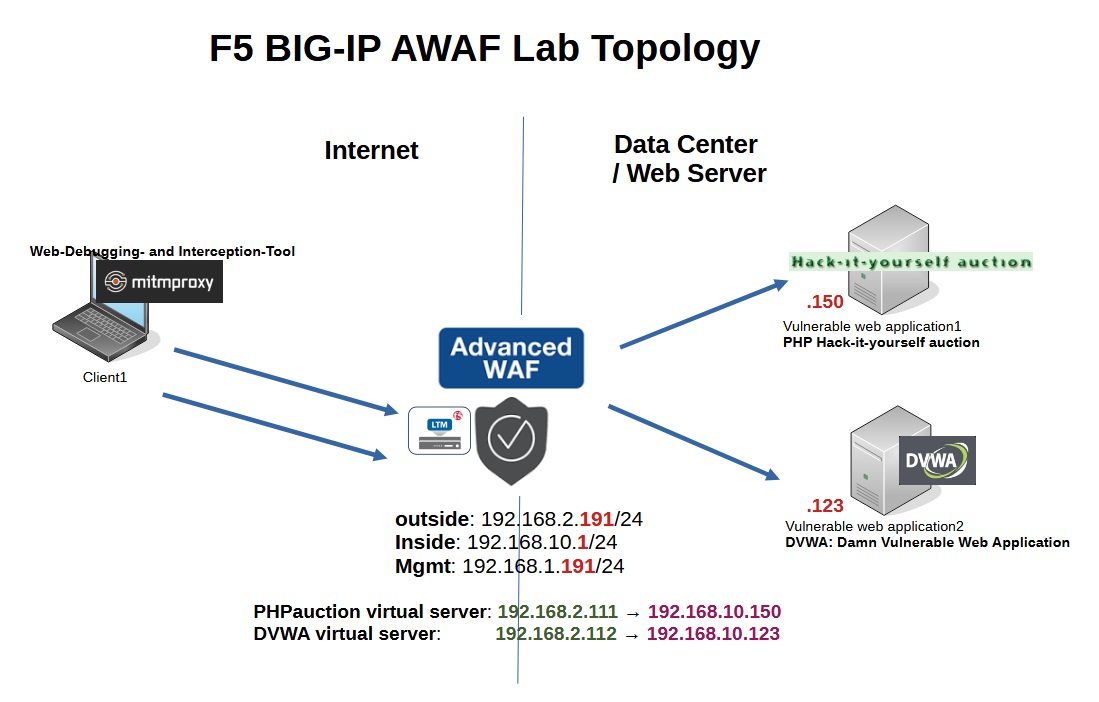
Just to review, this is the F5 AWAF lab topology that we discussed and started preparing in the previous lesson.
In this section, we prepare the Hack-it-Yourself PHP auction, the second vulnerable web application in the lab topology.
The Hack-it-Yourself PHP Auction is another intentionally vulnerable web application intended to serve as a training tool for security professionals and enthusiasts. It serves as a practical environment for learning, testing and understanding the features and capabilities of the F5 Advanced WAF module.
First, let’s download the Hack-it-Yourself PHP auction web application. I found the download link from the F5 community website.
This is the link to download the file. We download the file “PHPauction2.1”. It seems that the latest version of this software is for early 2022 and will no longer be updated.
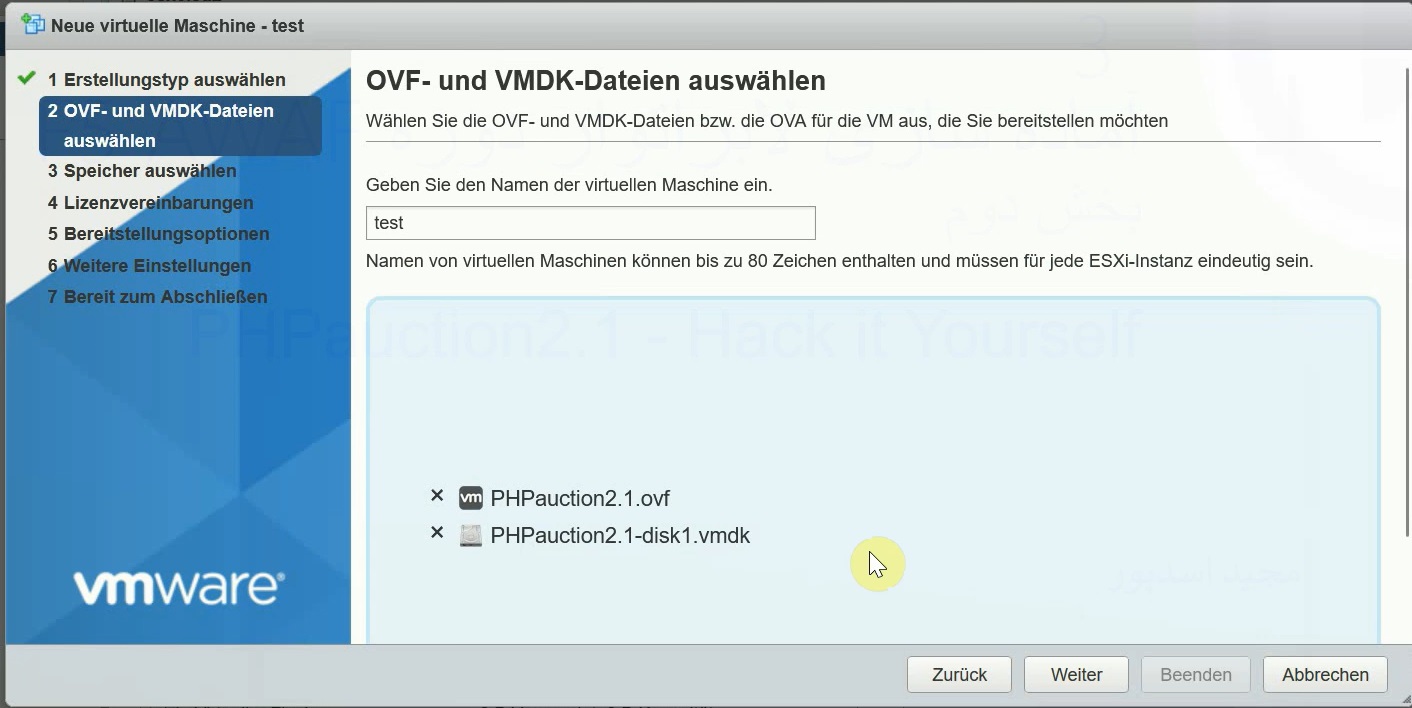
The download files are in VMware OVF file format and we will import them into VMware ESXi.
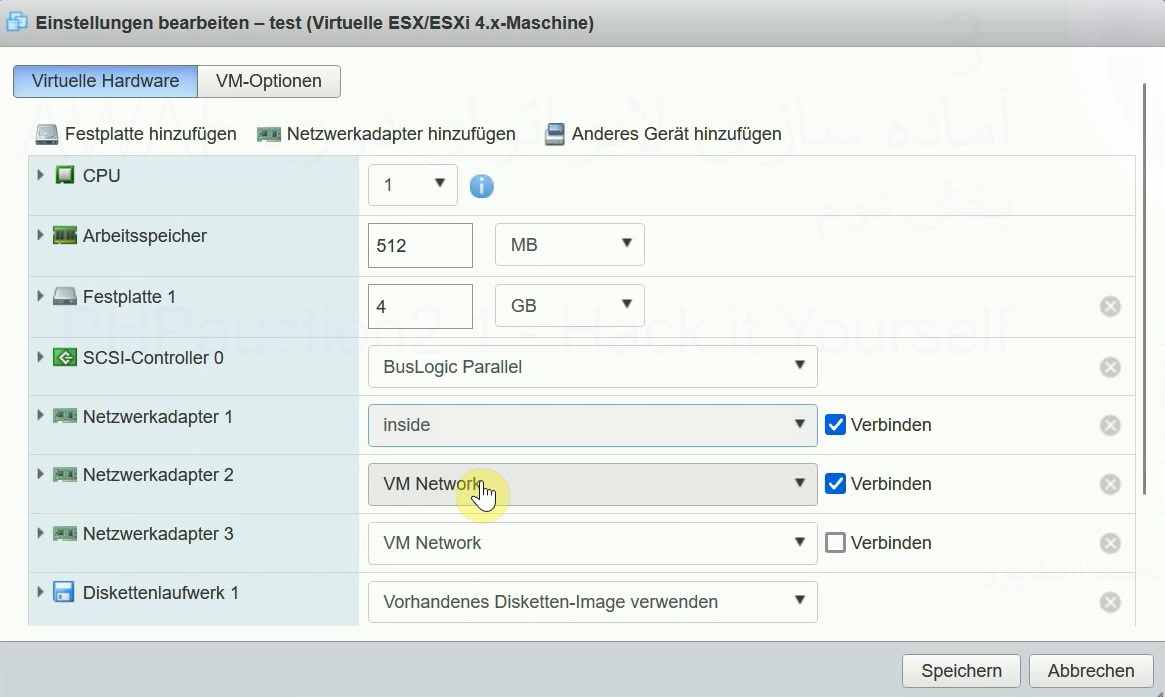
After importing OVF, we can see that the web application contains three interfaces by default.
According to the topology, we only need to connect one network adapter to the F5 inside zone. To ensure out-of-bound connectivity I will use two interfaces, but you can ignore this for your topology.
Now we turn on the machine. The default username and password are “root” and “default”.
After turning on the machine, we use the “vi” editor to configure the IP address and gateway of the interface.
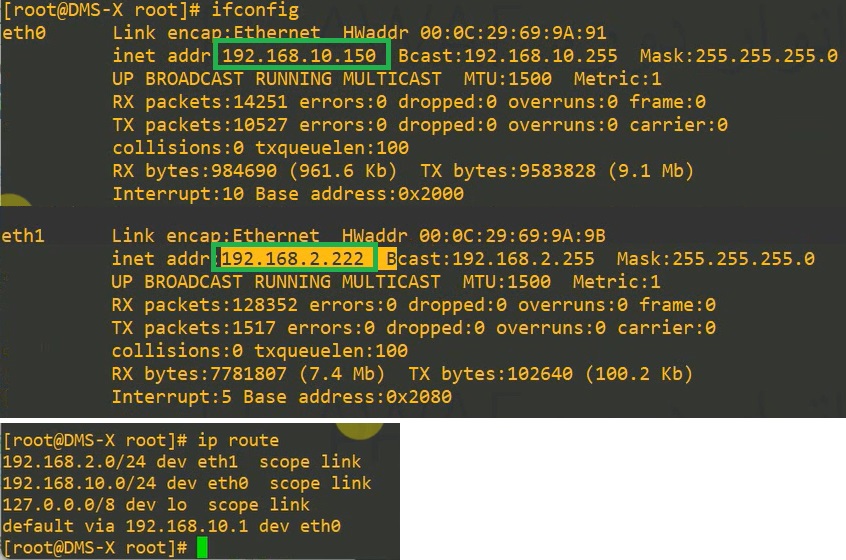
The interface eth0 with IP address 192.168.10.150 and gateway 192.168.10.1 and optionally eth1 with IP address 192.168.2.222 and without gateway according to my topology.
After changing the IP addresses, I will restart the machine and use “ifconfig” to make sure the IP addresses are correct.
vi ../etc/sysconfig/network-scripts/ifcfg-eth0
DEVICE=eth0
ONBOOT=yes
BOOTPROTO=static
IPADDR=192.168.10.150
NETMASK=255.255.255.0
GATEWAY=192.168.10.1
vi ../etc/sysconfig/network-scripts/ifcfg-eth1
DEVICE=eth1
ONBOOT=yes
BOOTPROTO=static
IPADDR=192.168.2.222
NETMASK=255.255.255.0
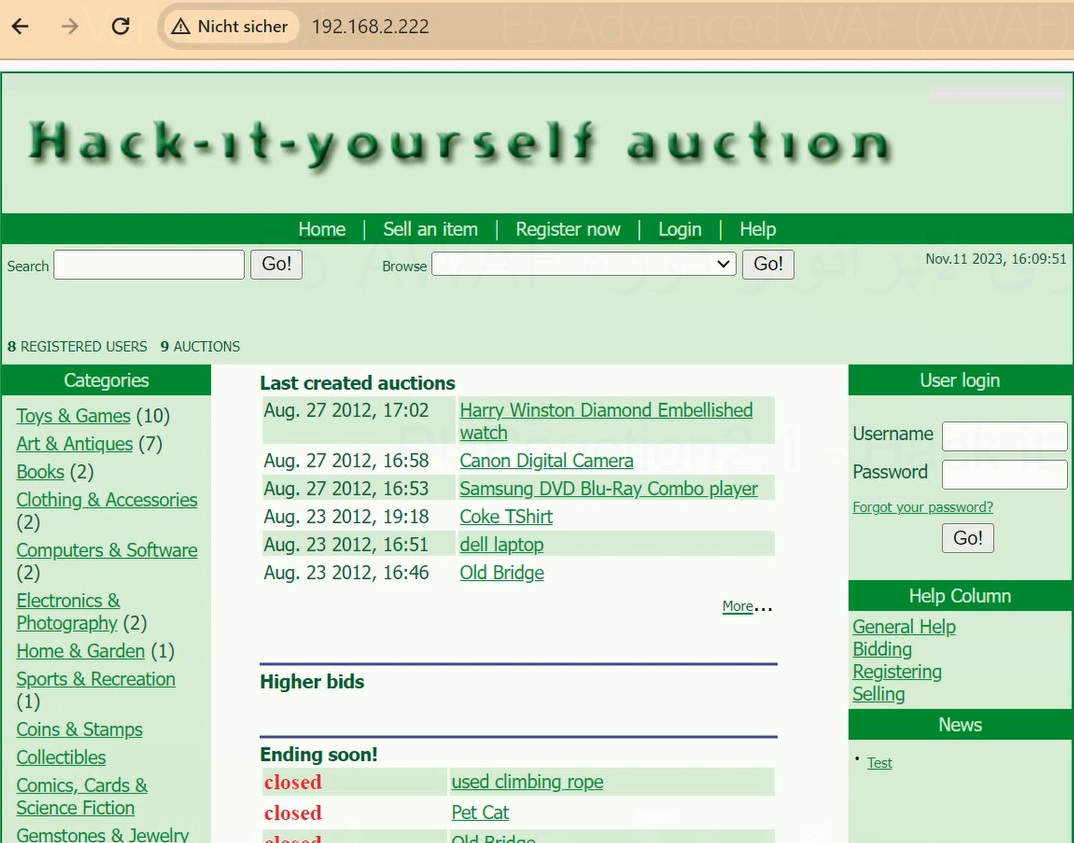
We can also check connectivity via SSH and also via a web browser.
Now we are ready with vulnerable web applications.
In the next section, we will publish these two vulnerable web applications via the F5-LTM module and then secure them using the F5-AWAF module.