The initial configuration of Juniper devices is the first step after purchasing a Juniper device. Initial configuration typically means enabling root authentication which is required, configuring a hostname and management IP address, and enabling SSH or Telnet remote access. It can also be a good idea to configure domain names, name servers, time zones and NTP servers.
We will also learn how to revert back to the default factory configuration or erase all configuration and data files to reconfigure the juniper device from scratch.
Juniper Initial Configuration fundamental
Every juniper device depending on the function which can be a switch, router or a firewall has a different factory default configuration.
Default factory configuration is just to have an initial access to the device, but depending on your network topology, initial configuration must be changed. So it can be accessible through your network topology with your own credential.
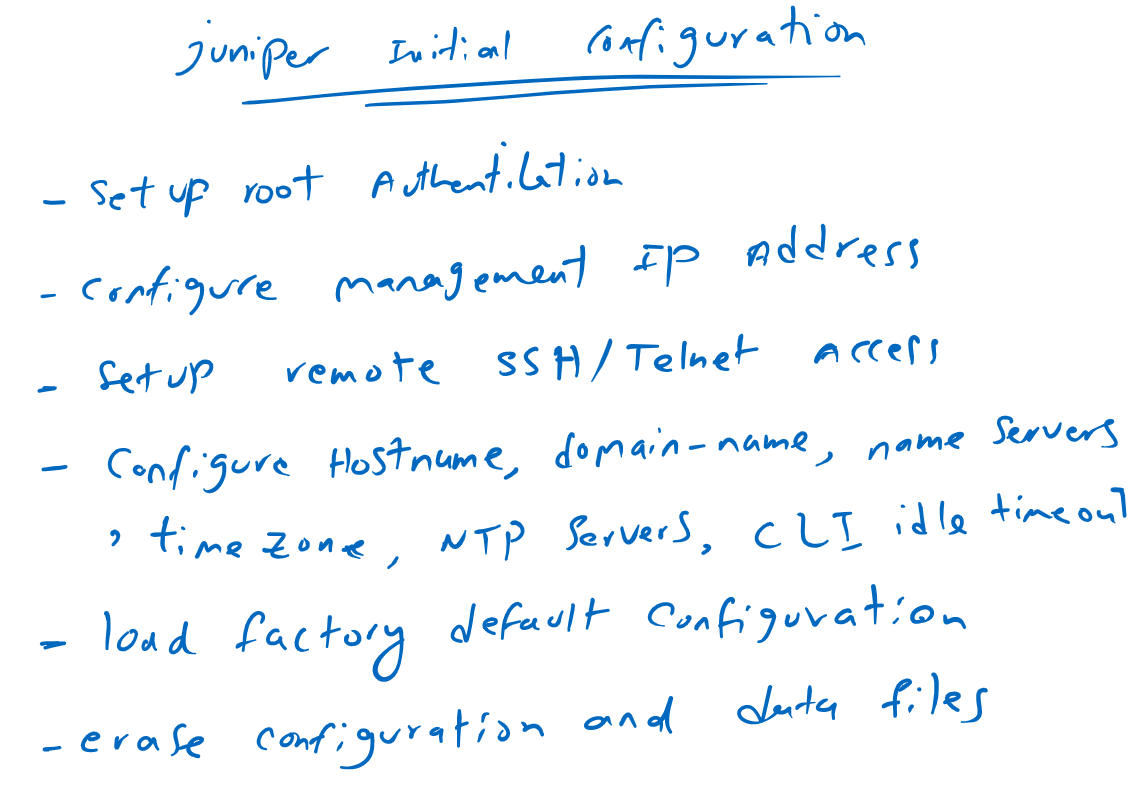
These are some initial configurations that we will discuss in this section, including setting root authentication. Setup a management IP address. Configure remote SSH/Telnet access. Configure hostname, domain-name, name servers, time zone, NTP servers and cli idle time out.
Finally, we will discuss how to restore the factory default configuration or completely erase the configuration and data files to make juniper device ready for a new configuration.
Setup Junos root authentication
By default, you can log in to all Juniper devices with the user “root” and without a password. But the first step that needs to be configured is setting up a password for the root user, in other words, configuring root authentication.
The easiest way to configure root-authentication is to set a plain-text password.
As you can see there are also some other options for root authentication like “encrypted-password” or password-less SSH public key (ssh-rsa).
Password-less SSH public key authentication is especially useful for network automation. Therefore, our next section is dedicated to configuring the topic, Junos password-less SSH public key authentication.
However, to enable plain-text password authentication, use the “set system root-authentication plain-text-password” command.
rayka@vSRX# set system root-authentication ?
Possible completions:
+ apply-groups         Groups from which to inherit configuration data
+ apply-groups-except  Don't inherit configuration data from these groups
  encrypted-password   Encrypted password string
  load-key-file        File (URL) containing one or more ssh keys
  no-public-keys       Disables ssh public key based authentication
  plain-text-password  Prompt for plain text password (autoencrypted)
> ssh-ecdsa            Secure shell (ssh) ECDSA public key string
> ssh-ed25519          Secure shell (ssh) ED25519 public key string
> ssh-rsa              Secure shell (ssh) RSA public key string
[edit]
rayka@vSRX# set system root-authentication plain-text-password
New password:
Retype new password:

[edit]
rayka@vSRX#
Configure SRX Management Interface IP Address
Configuring management IP address based on your network topology is required for remote Telnet and SSH access.
With “show interface terse” command, you can see the list of interfaces. the question is which interface is the management interface in the device.
rayka@vSRX# run show interfaces terse
Interface               Admin Link Proto    Local                 Remote
ge-0/0/0                up    up
gr-0/0/0                up    up
ip-0/0/0                up    up
lsq-0/0/0               up    up
lt-0/0/0                up    up
mt-0/0/0                up    up
sp-0/0/0                up    up
sp-0/0/0.0              up    up   inet
                                   inet6
sp-0/0/0.16383          up    up   inet
ge-0/0/1                up    up
dsc                     up    up
em0                     up    up
em0.0                   up    up   inet     128.0.0.1/2
em1                     up    up
em1.32768               up    up   inet     192.168.1.2/24
em2                     up    down
fti0                    up    up
fxp0                    up    up
fxp0.0                  up    up   inet     192.168.200.100/24
gre                     up    up
ipip                    up    up
irb                     up    up
lo0                     up    up
lo0.16384               up    up   inet     127.0.0.1           --> 0/0
lo0.16385               up    up   inet     10.0.0.1            --> 0/0
                                            10.0.0.16           --> 0/0
                                            128.0.0.1           --> 0/0
                                            128.0.0.4           --> 0/0
                                            128.0.1.16          --> 0/0
lo0.32768               up    up
lsi                     up    up
mtun                    up    up
pimd                    up    up
pime                    up    up
pp0                     up    up
ppd0                    up    up
ppe0                    up    up
st0                     up    up
tap                     up    up
vlan                    up    down
vtep                    up    up

[edit]
rayka@vSRX#
We will talk about Juniper interfaces in a dedicated video, but just to get a first impression, depending on the device type or device model, management interface can be an em0, me0 or fxp0 interface.
For Juniper SRX firewall and MX routers, fxp0 interface is usually the management interface.
To configure an IP address for management interface, use the command “set interfaces fxp0 unit 0 family inet address 192.168.200.100/24”.
[edit]
rayka@vSRX# set interfaces fxp0 unit 0 family inet address 192.168.200.100/24

[edit]
rayka@vSRX# set routing-options static route 0.0.0.0/0 next-hop 192.168.1.1

[edit]
rayka@vSRX#
If you need to configure default gateway for your device to access it remotely, we will talk about static routing in a dedicated video. But for now you can use the command “set routing-options static route 0.0.0.0/0 next-hop 192.168.200.1 ”, if your device is SRX device.
Configure Junos Remote Telnet/SSH Access
Under “system services” context, you can enable easily Telnet, SSH and also web management access.
The only point is that by default the root user does not have permission to login remotely. You can easily create another user for remote access, but if you also want to log in remotely with the root user, don’t forget to grant the permission.
With the commands, under “system services”, we enable Telnet, SSH and web access.
rayka@vSRX# set system services web-management https system-generated-certificate

[edit]
rayka@vSRX# set system services web-management https interface fxp0.0

[edit]
rayka@vSRX# set system services telnet

[edit]
rayka@vSRX# set system services ssh root-login allow

[edit]
rayka@vSRX#
rayka@vSRX# run show configuration | display set | grep services
set system services ssh root-login allow
set system services telnet
set system services web-management https system-generated-certificate
set system services web-management https interface fxp0.0

[edit]
rayka@vSRX#
For HTTPS access, we need a certificate. if we do not have certificate authority or public key infrastructure in the network, then the easiest way is to use “system generated certificate”.
We also enable the access through management interface fxp0.0 interface.
With “root-login allow” under SSH service, we grant the root user the permission to login remotely.
Configure Junos host-name, domain-name and name servers
In the next step, we recommend to configure the hostname and domain-name and also name server for name resolution.
rayka@vSRX# set system host-name vSRX

[edit]
rayka@vSRX# set system domain-name rayka-co.com

[edit]
rayka@vSRX# set system name-server 192.168.1.240

[edit]
rayka@vSRX# set system name-server 8.8.8.8

[edit]
rayka@vSRX# show | compare
[edit system]
+  domain-name rayka-co.com;
+  name-server {
+      192.168.1.240;
+      8.8.8.8;
+  }

[edit]
rayka@vSRX#
Configure Junos time zone and NTP servers
For monitoring and also for security purposes, it is very important to make sure of a correct time in your devices.
With configuring time zone and NTP servers, you can make sure of the correct time in your system.
[edit]
rayka@vSRX# set system ntp server 194.225.150.25

[edit]
rayka@vSRX# set system time-zone Asia/Tehran

[edit]
rayka@vSRX# show | compare
[edit system]
+  time-zone Asia/Tehran;
+  ntp {
+      server 194.225.150.25;
+  }

[edit]
rayka@vSRX#
Configure Junos CLI idle time-out
With configuring, cli idle time-out, remote session will be automatically disconnected after the specified inactivity time, which is important for security purposes.
If it is configured to 0, then the remote session will never be expired.
Notice that this feature will be configured in operational mode and not in configuration mode.
rayka@vSRX> set cli idle-timeout 5
Idle timeout set to 5 minutes

rayka@vSRX> Warning: session will be closed in 1 minute if there is no activity


rayka@vSRX> set cli idle-timeout 0
Idle timeout disabled

rayka@vSRX>
revert back to default factory configuration
For any reason, you can restore the factory default configuration, especially if your current configuration fails and you want to reconfigure from scratch.
The “load factory-default” command is replaces the current active configuration with the default factory configuration.
Notice that it will not replace the current active configuration, until you commit the changes. Therefore you can check the configuration changes with “show | compare” command to make sure of the changes before applying and replacing the active configuration.
rayka@vSRX# load factory-default
warning: activating factory configuration

[edit]
rayka@vSRX# show | compare
[edit]
- version 22.1R1.10;
[edit system]
-  host-name vSRX;
-  root-authentication {
-      encrypted-password "$6$Mm42nQEW$FBVpHM3HM3jTMOhBsS4pbQ8ZnmhmMsx4cQEz05/z0tIED/lF83D45Y8jvgPiCosReDYg.z/Ww4izkNsvS0KrB1"; ## SECRET-DATA
-  }
-  login {
-      user rayka {
-          uid 2000;
-          class super-user;
-          authentication {
-              encrypted-password "$6$q3IzG30w$9C9wXWadnG3bhg.GqSJXREB1YqiPWZ/3Y3aVf3.YKSCBN4rxONm5Czpi4JHrQ8OoeJCk0DZqr3k2rFf8r0g../"; ## SECRET-DATA
-          }
-      }
-  }
+  autoinstallation {
+      delete-upon-commit;
+      traceoptions {
+          level verbose;
+          flag {
+              all;
+          }
+      }
....
erase Junos configuration and data files
You also have the option to erase Junos configuration files and all data files including log files to reconfigure the device from scratch.
It can be performed with command “request system zeroize” in operational mode.
rayka@vSRX> request system zeroize
warning: System will be rebooted and may not boot without configuration
Erase all data, including configuration and log files?. In case of Dual RE system, both Routing Engines will be zeroized [yes,no] (no)


rayka@vSRX>