How to install Cisco NSO version 6.0 on Ubuntu version 22.04 is the topic of this section.
Install Cisco NSO version 6.0 on Ubuntu 22.04
To install cisco NSO, I have already installed an ubuntu client system with version 22.04.
Let’s check the version of my Ubuntu.
majid@majid-ubuntu:~$ cat /etc/lsb-release
DISTRIB_ID=Ubuntu
DISTRIB_RELEASE=22.04
DISTRIB_CODENAME=jammy
DISTRIB_DESCRIPTION="Ubuntu 22.04.2 LTS"
prerequisite to Install NSO
This is the main cisco documentation link to get and install cisco NSO software.
As a prerequisite, we need Java, Apache Ant, Python 3 and development tools, which must be installed on a Linux or macOS system. Direct installation on Windows systems is currently not possible.
There are two types of installation, “System Install” for a centralized and always-on production environment and “Local Install” which is used for evaluation and lab environment.
Cisco NSO official documentation provides details on both methods. However, in this section we will install the local version of this software.
I have already prepared step by step documentation how to install Cisco NSO version 6.0 on Ubuntu version 22.04.
As the first step, we instal the pre-requisites.
sudo apt-get install default-jdk
sudo apt-get install ant
sudo apt-get install python3 python3-pip python3-setuptools
sudo apt install libxml2-utils
sudo apt-get install tree
sudo apt-get install -y xsltproc
pip3 install paramiko
Download NSO and NED from Cisco Website
Then we have to download the software and some free NED (network element drivers) from cisco website.
The latest version is version 6.0 and in addition to “Cisco Network Services Orchestrator Linux Installer”, we are allowed to install free NED for Cisco ASA, Cisco IOS, IOS-XR and NX-OS.
My cisco account is a normal account and not a special account but I could download the software and NEDs from cisco website.
nso-6.0-freetrial.linux.x86_64.signed.bin
ncs-6.0-cisco-asa-6.16-freetrial.signed.bin
ncs-6.0-cisco-ios-6.88-freetrial.signed.bin
ncs-6.0-cisco-iosxr-7.43-freetrial.signed.bin
ncs-6.0-cisco-nx-5.23.6-freetrial.signed.bin
Install NSO
I have already uploaded the downloaded software and packages in a folder with the name of “cisco_nso”.
Before proceeding with the installation, I need to explain the folder names that I will be using in my installation. Of course you can use your favourite names.
I will use the folder “cisco_nso” for storing the downloaded packages.
I will use the folder “nso-6.0” as an installation directory. In other words, NSO will be installed in this folder.
With installing NSO, actually it does not start and you have just prepared it run the software.
For running of the cisco NSO, you have to run an instance of NSO. Different instance of NSO can be run for different lab environments.
We will create and run an instance of NSO in a folder with the name of “nso-instance”. This folder is actually the running instance of NSO which can be customized for each lab environment.
For each instance of NSO only the required NED drivers and service packages will be loaded.
# cisco_nso: to store downloaded files
# nso-6.0: to install nso
# nso-instance: running instance of NSO installation
In the next step, we verify the certificate and extract the installer file using “sh” command.
We ignore certificate verification and just extract the binary installer file. A new binary file with the name of “nso-6.0.linux.x86_64.installer.bin” will be created which we use to install the software.
cd cisco_nso
sh nso-6.0-freetrial.linux.x86_64.signed.bin --skip-verification
Then we create a folder with the name of “nso-6.0”, in home directory, as we discussed.
Then we install local version of NSO using “sh” command and “–local-install” option in “nso-6.0” folder.
# install ncs
mkdir $HOME/nso-6.0
sh nso-6.0.linux.x86_64.installer.bin $HOME/nso-6.0 --local-install
Add new NEDs in NSO
In the installed directory “nso-6.0” there is a folder called “packages“. Inside that folder is the “neds” folder, which contains some free NSO drivers for Cisco IOS, IOS-XR, ASA, NX-OS, Juniper Junos, and A10 device types.
# existing neds
majid@majid-ubuntu:~/cisco_nso$ ls ~/nso-6.0/packages/neds/
a10-acos-cli-3.0  cisco-asa-cli-6.6  cisco-ios-cli-3.8    cisco-iosxr-cli-3.5  dell-ftos-cli-3.0
alu-sr-cli-3.4    cisco-ios-cli-3.0  cisco-iosxr-cli-3.0  cisco-nx-cli-3.0     juniper-junos-nc-3.0
However, we are going to add the new downloaded drivers into packages which has the newer version of IOS, IOS-XR, NX-OS and ASA software.
For that we extract downloaded ned drives using “sh” command. Drivers with the format of “.tar.gz” will be created. Then we will unzip and add these files into existing ned drivers in installed directory.
cd ~/cisco_nso/
sh ncs-6.0-cisco-nx-5.23.6-freetrial.signed.bin --skip-verification
sh ncs-6.0-cisco-asa-6.16-freetrial.signed.bin --skip-verification
sh ncs-6.0-cisco-ios-6.88-freetrial.signed.bin --skip-verification
sh ncs-6.0-cisco-iosxr-7.43-freetrial.signed.bin --skip-verification

majid@majid-ubuntu:~/cisco_nso$ ls -l ncs*.tar.gz
-rw-r--r-- 1 majid majid  7140942 Okt 18  2022 ncs-6.0-cisco-asa-6.16.tar.gz
-rw-r--r-- 1 majid majid 54021270 Nov  4  2022 ncs-6.0-cisco-ios-6.88.tar.gz
-rw-r--r-- 1 majid majid 39305257 Okt  7  2022 ncs-6.0-cisco-iosxr-7.43.tar.gz
-rw-r--r-- 1 majid majid  9895988 Nov 12  2022 ncs-6.0-cisco-nx-5.23.6.tar.gz


majid@majid-ubuntu:~/cisco_nso$ cd ~/nso-6.0/packages/neds/
tar -zxvf ~/cisco_nso/ncs-6.0-cisco-asa-6.16.tar.gz
tar -zxvf ~/cisco_nso/ncs-6.0-cisco-ios-6.88.tar.gz
tar -zxvf ~/cisco_nso/ncs-6.0-cisco-iosxr-7.43.tar.gz
tar -zxvf ~/cisco_nso/ncs-6.0-cisco-nx-5.23.6.tar.gz
Setup Environment Variable
Now NSO software is installed but still not started.
Before starting an instance of cisco NSO, we have to setup the environment variables.
In the installed directory “nso-6.0”, there is already a bash script with the name of “ncsrc” which setup the environment variable.
Therefore, we need to source “ncsrc” file before running an instance of cisco NSO.
majid@majid-ubuntu:~/nso-6.0$ source $HOME/nso-6.0/ncsrc
Create and Run NSO Instance
Then we create the folder “nso-instance” folder, as we discussed which will be used to keep the running instance of NSO.
Then we run the instance of NSO with “ncs-setup” command. We only load the required ned drivers that we need in the lab environment with “–package” parameter. The “nso-instance” folder, will be chosen as destination folder with “–dest” parameter.
# create an instance of ncs with ncs-setup
mkdir $HOME/nso-instance

ncs-setup --package ~/nso-6.0/packages/neds/cisco-iosxr-cli-7.43 \
--package ~/nso-6.0/packages/neds/cisco-asa-cli-6.16 \
--package ~/nso-6.0/packages/neds/cisco-ios-cli-6.88 \
--package ~/nso-6.0/packages/neds/cisco-nx-cli-5.23 \
--package ~/nso-6.0/packages/neds/juniper-junos-nc-3.0 \
--dest ~/nso-instance
Now an instance of NSO is created. To run it, we have to go inside “nso-instance” directory and run the command “ncs”.
# start ncs
cd $HOME/nso-instance
ncs
Check if NSO is installed correctly
As you see to run nso, we use the command “ncs”, which is the old name of nso. The name of the software has changed but still the commands are started with the old name.
To make sure that nso is running, we can use the command “ncs –status | grep status”.
majid@majid-ubuntu:~/nso-instance$ ncs --status | grep status
status: started
        db=running id=34 priority=1 path=/ncs:devices/device/live-status-protocol/device-type
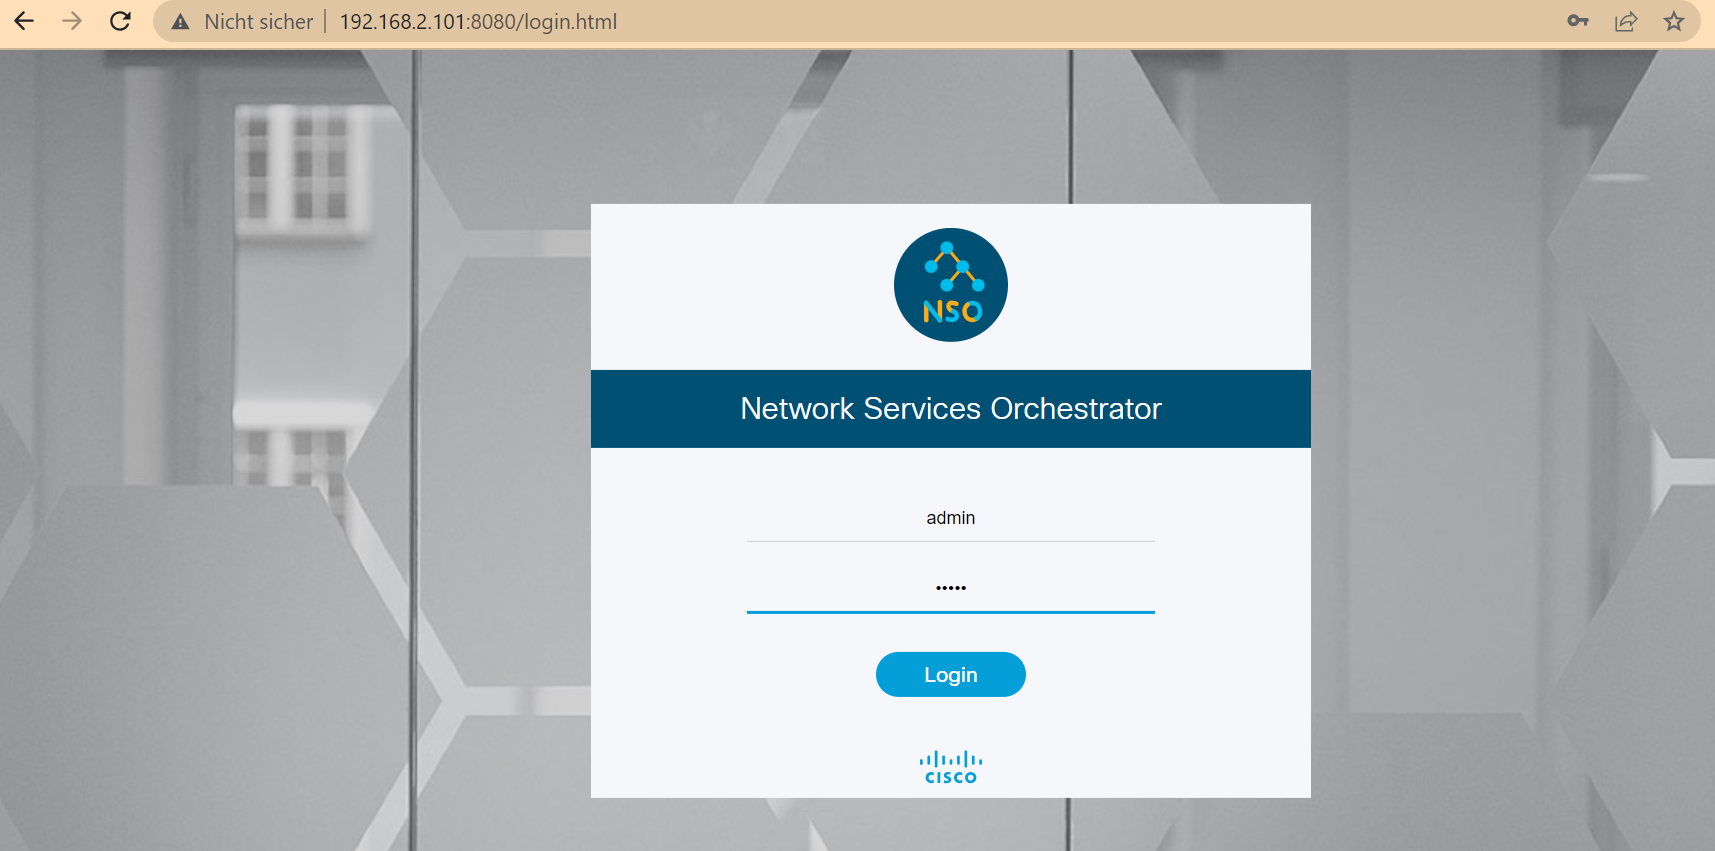
You can also connect to GUI and web version of NSO software with port number 8080 and username and password admin/admin.
http://192.168.2.101:8080/login.html
admin/admin
connect to NSO
With command “ncs_cli” we can connect to NSO CLI environment.
There are two options for the CLI environment. With “-C” we connect to the Cisco XR style and with “-J” option we connect to the juniper style. You can choose whichever is more convenient for you. We will use cisco CLI style during the course.
# connect to NSO CLI
ncs_cli -C -u admin # cisco style
ncs_cli -J -u admin # juniper style
In the NSO CLI environment, with the command “show ncs-state version” you can check the version of NSO which is installed in your system.
admin@ncs# show ncs-state version
ncs-state version 6.0
And with the command “show packages package package-version”, you can check ned drivers that are loaded in current nso instance.
admin@ncs# show packages package package-version
                      PACKAGE
NAME                  VERSION
--------------------------------
cisco-asa-cli-6.16    6.16
cisco-ios-cli-6.88    6.88
cisco-iosxr-cli-7.43  7.43
cisco-nx-cli-5.23     5.23.6
juniper-junos-nc-3.0  3.0.14.2

admin@ncs#
connect to NSO in a new bash CLI
To add one important point, when you run “ncs_cli” command in a new bash environment, you get the message that the command is not found.
To solve the problem, you have to again setup nso environment variable with “ncsrc” command. Then “ncs_cli” command will be run.
majid@majid-ubuntu:~/nso-instance$ ncs_cli -C -u admin
ncs_cli: command not found
majid@majid-ubuntu:~/nso-instance$ source $HOME/nso-6.0/ncsrc
majid@majid-ubuntu:~/nso-instance$ ncs_cli -C -u admin

User admin last logged in 2023-06-08T01:05:03.377881+00:00, to majid-ubuntu, from 192.168.2.175 using cli-ssh
admin connected from 192.168.2.175 using ssh on majid-ubuntu
admin@ncs#
next step
The next step is to connect the NSO instance with your physical or virtual devices. But probably you don’t have any devices to connect NSO to them.
We have the option to use the devices in netsim simulator which is embedded in nso instance. This will be discussed in the next section.