Arista gNMI Lab preparation is the topic this section since it easier and more accessible to prepare gNMI with cisco devices.
We will load Arista vEOS into the VMware workstation and perform the initial configuration to connect to the device. Also, we will enable gNMI for our next demonstrations.
https://www.json2yaml.com/
gNMI Lab Preperation based on Arista vEOS Device
To prepare a gNMI lab based on arista devices, first we have to download arista “veos”, which is the operating system of arista devices, from arista website.
Download and Install vEOS
You can download “veos” for various virtual hypervisors, but I will load it onto the VMware workstation.
I need to download both firmware and VMDK for VMware virtual environment.
At the time of download, the latest Arista firmware and VMDK are “Aboot-veos-serial-8.0.1.iso” and “vEOS-lab-4.30.0F.vmdk“.
load vEOS in Vmware Workstation
After downloading, we load them into vmware workstation.
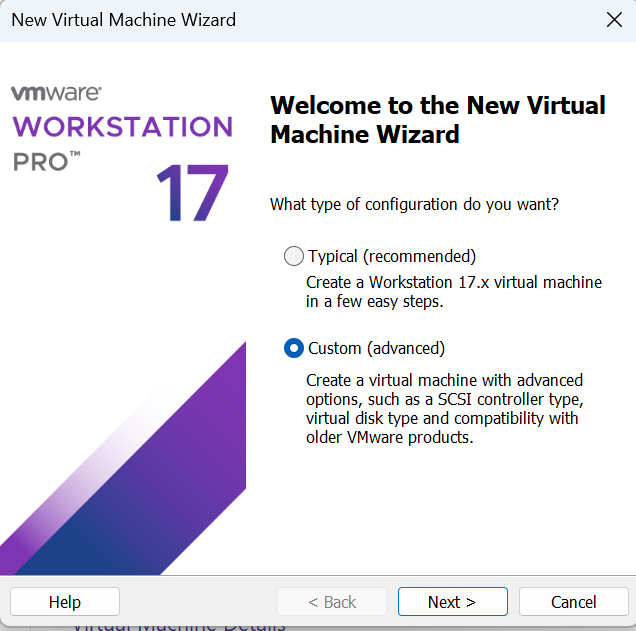
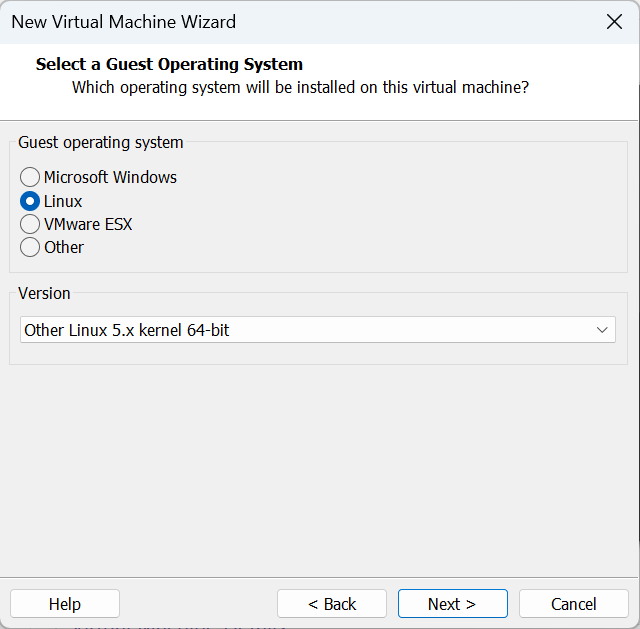
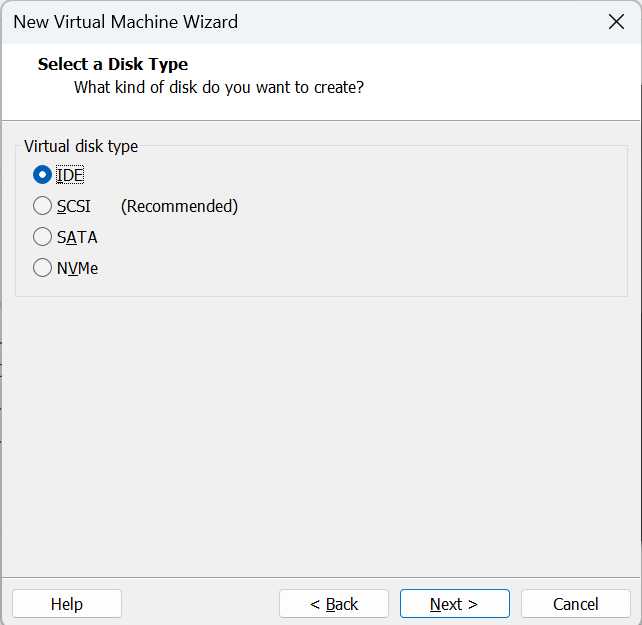
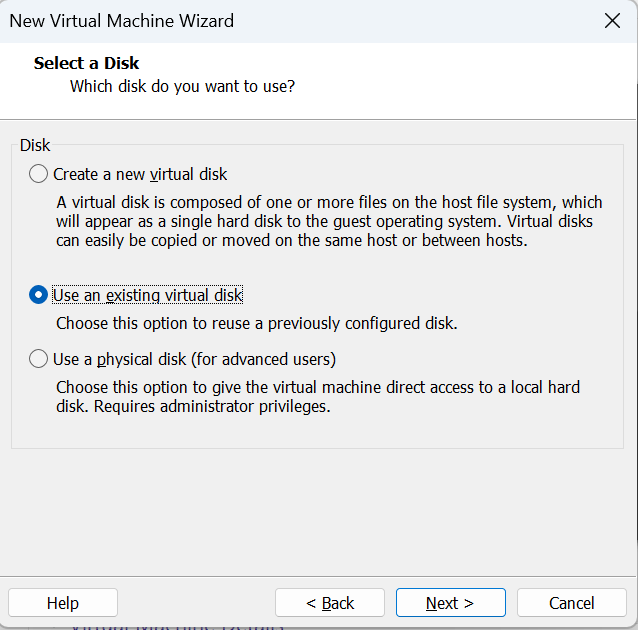
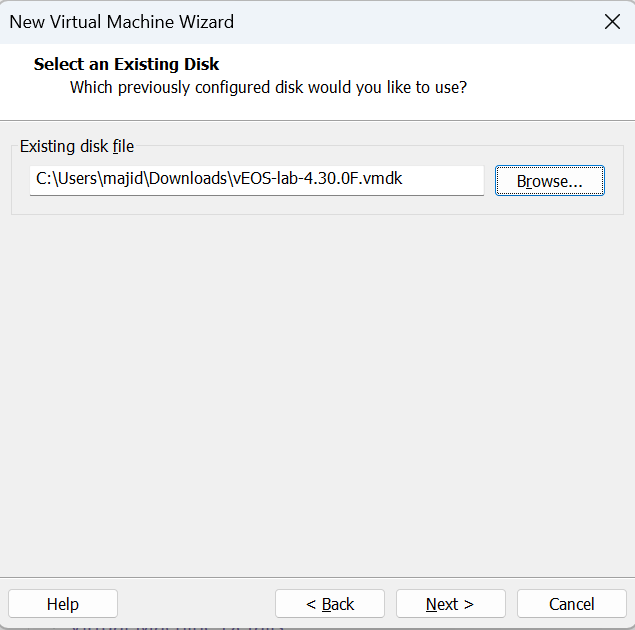
New Virtual Machine -> Custom (Advanced) -> choose the downloaded firmware iso file -> …-> Guest OS: Linux (Other Linux 5.x kernel 64-bit) -> …-> Disk Type: IDE -> use an existing virtual disk -> choosed downloade vmdk file.
New Virtual Machine -> Custom (Advanced) -> choose the downloaded firmware iso file -> ...-> Guest OS: Linux (Other Linux 5.x kernel 64-bit) -> …-> Disk Type: IDE -> use an existing virtual disk -> choosed downloade vmdk file.
In my computer it takes 10 to 15 minutes to load the operating system. So we must wait and not hurry.
vEOS Initial Configuration
The default username is “admin” without any password.
Then, to perform an initial configuration, we first need to disable the “zerotouch” provisioning by entering the command “zerotouch cancel” in the enable mode.
Then the switch will be rebooted. Again, we have to wait and do not hurry.
After the reboot, we configure a username with privilege 15. We also configure an IP address in the interface management so that we can connect to the device remotely.
default username = admin
default has no password

!!!!!!!!!! vEOS initial configuration
To cancel ZTP mode: switch immediately boots after the follwoing command
#zerotouch cancel

hostname R1
username rayka priviledge 15 secret rayka-co.com

interface management 1
 ip address 192.168.2.91 255.255.255.0
 no shutdown
Enable gNMI in Arista vEOS
In the next step we have to enable gNMI in the device.
We enable gNMI in arista veos device with these commands.
# enbale gnmic
R1(config)#management api gnmi
R1(config-mgmt-api-gnmi)#transport grpc default
!
R1(config-gnmi-transport-default)#exit
R1(config-mgmt-api-gnmi)#exit
R1(config)#exit
!
R1#show management api gnmi
Transport: default
Enabled: yes
Server: running on port 6030, in default VRF
SSL profile: none
QoS DSCP: none
Authorization required: no
Accounting requests: no
Certificate username authentication: no
Notification timestamp: last change time
Listen addresses: ::
To see the default gNMI port in arista devices, we use the command “show management api gnmi”.
The ouput shows that gNMI by default listen on port “6030” and certificate authentication is disabled by default which is not bad for lab environment.
Install gnmic and check it with vEOS
In the next sections, we will use python to do network automation with gNMI protocol.
But before that, we will use the gNMI client or gnmic tool to connect to a network device enabled with the gNMI and send gNMI commands through this tool to the network device.
In this link, you will see a quick start guide which shows how to install gnmic and then send gNMI “capabilities”, “get”, “set” and “subscribe” command to the network devices.
# install gnmi client on automation machine
https://github.com/karimra/gnmic
Quick start guide

majid@ubuntu2204tls:~$ bash -c "$(curl -sL https://get-gnmic.kmrd.dev)"
Downloading https://github.com/karimra/gnmic/releases/download/v0.26.0/gnmic_0.26.0_linux_x86_64.tar.gz
Preparing to install gnmic 0.26.0 into /usr/local/bin
[sudo] password for majid:
gnmic installed into /usr/local/bin/gnmic
version : 0.26.0
 commit : ba387ba
   date : 2022-06-29T06:52:10Z
 gitURL : https://github.com/karimra/gnmic
   docs : https://gnmic.kmrd.dev
In the next section, we will demonstrate the gNMI using the gnmic tool. But to make sure it works, in this section let’s get the yang capabilities of network devices via the gnmic capabilities command.
majid@ubuntu2204tls:~$ gnmic -a 192.168.2.91:6030 -u rayka -p rayka-co.com --insecure capabilities
gNMI version: 0.7.0
supported models:
  - openconfig-platform-linecard, OpenConfig working group, 1.0.0
  - arista-rpc-netconf, Arista Networks, Inc.,
  - openconfig-aaa, OpenConfig working group, 1.0.0
...
In the ouput you see gNMI version and also yang capabilities supported by network device which is a long list.
Just for another checking, we use the “get” command to get the entire configuration from all supported yang data model.
majid@ubuntu2204tls:~$ gnmic -a 192.168.2.91:6030 -u rayka -p rayka-co.com --insecure get --path /


majid@ubuntu2204tls:~$ gnmic -a 192.168.2.91:6030 -u rayka -p rayka-co.com --insecure get --path "network-instances/"
[
  {
    "source": "192.168.2.91:6030",
    "timestamp": 1684081440748840897,
    "time": "2023-05-14T18:24:00.748840897+02:00",
...
The output is very long and In the next section, we will try to limit the output of configuration to the specific section.