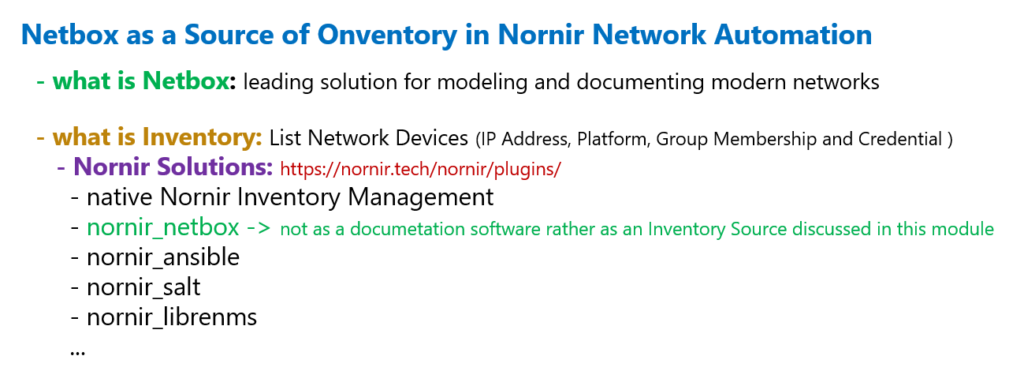
Netbox is another Nornir Inventory solution in network automation.
In this section we will install Netbox on Ubuntu 22.04 and prepare it with the minimum configuration to be used as an inventory source in Nornir-based network automation.
In the next section, we’ll use Netbox as an inventory source in the Nornir automation script.
Netbox as Inventory Source in Nornir Network Automation
Netbox is a very powerful open source software used mostly for Network documentation and IP address management.
But in this module we will not use Netbox as a documentation software, rather as a source of Inventory for network automation.
From the beginning of the course until now we have always used Nornir’s native inventory solution to store device lists and information such as IP address, platform, group membership and credentials required to connect to the network devices.
But if we look at “nornir.tech” website and Nornir plugins, we see that there are some other solutions as inventory management in Nornir network automation.
we search for the “inventory” keyword, we can find some other Nornir plugins that can be used as a Nornir inventory solution. Probably “nornir_netbox” and “nornir_ansible” are the most popular among these plugins.
In this module, we will use “nornir_netbox” as inventory solution. Therefore we do not need to create “hosts.yaml”, “groups.yaml” and “defaults.yaml” inventory files that we have used from the beginning of the course. In this module Inventory Information will be retrieved from netbox software.
Install docker version of Netbox on Ubuntu 22.04.1
In this section, we will first install Docker version of “Netbox 3.4” on “Ubuntu 22.04.1 LTS”. Then we’ll configure the minimum information required so that Netbox can be used as an inventory source.
Using netbox in Nornir network automation is demonstrated in the next section.
majid@devnet:~/devnet/pyhton_nornir/2023/11.netbox$ lsb_release -a
No LSB modules are available.
Distributor ID: Ubuntu
Description:    Ubuntu 22.04.1 LTS
Release:        22.04
Codename:       jammy
These are the steps that I already noted for installing docker version of Netbox on Ubuntu.
sudo apt update
sudo apt upgrade

#make sure that admin username with sudo priviliedge is created to connect to the netbox software
#sudo adduser admin
#sudo usermod -aG sudo admin

sudo apt install git
sudo apt install docker
sudo apt install docker-compose

git clone -b release https://github.com/netbox-community/netbox-docker.git
ls
cd netbox-docker
cp docker-compose.override.yml.example docker-compose.override.yml

# this is the configuration of docker-compose.override.yml
cat docker-compose.override.yml
version: '3.4'
services:
  netbox:
    ports:
      - 8000:8080

sudo docker-compose pull
sudo docker-compose up &

sudo docker ps

#connect netxbox
http://NET-BOX-IP:8000/
admin/admin
First make sure that Ubuntu is updated.
Then make sure that admin user with sudo privilege is added to Ubuntu which will be used to connect to netbox.
Then install the softwares, “git”, “docker” and “docker-compose” if they are not already installed in your Ubuntu machine.
Then we will copy netbox docker version from github source community.
A new directory with the name of “netbox-docker” will be created in your machine.
Which docker images have to be installed and how they are configured are already defined inside “docker-compose.yml” file in “netbox-docker” directory.
The configuration that we can override must be defined inside “docker-compose.override.yml” file that we can copy from the file “docker-compose.override.yml.example”, already provided for us.
Then wit command “sudo docker-compose pull” we download required docker images.
Finally with the command “sudo docker-compose up &”, we install and configured docker images as they are defined in “docker-compose.yml” configuration file.
You can check the list of docker images with the command “sudo docker ps”.
If everything is installed correctly then you can connect to the netbox through default port 8000 with default username and password admin/admin.
Netbox Overview
If we look quickly at netbox interface, you see these main options provided by this software.
In “organization”, we create physical and logical information of Organization, like sites, racks, tenancy and contact information.
In “Devices” section, list of devices connected to the network, their role, their type, their platform, interfaces connected to the devices and many other information around devices will be configured.
In the “connections” section, list of wired and wireless connection will be configured.
In the “wireless” section, list of wireless networks will be added.
In the “IPAM” section or IP address management, as the name suggest, the management of IP addresses and IP subnets will be configured. This module is the most applicable module which can also be installed separately.
And some other sections that are out of the scope and intensions that we are using netbox software.
Configure Netbox to be ready for Inventory Source
What we will do in the next step is to configure the minimum required information inside the netbox to ensure it can be used as an inventory source in network automation.
majid@devnet:~/devnet/pyhton_nornir/2023/11.netbox$ cat netbox_minimum_required_info
Organization -> Sites -> Add
 name:central_office

Devices -> Device Roles -> Add
 Name: router

Devices -> Manufacturer -> Add
 Name: cisco

Devices -> Device Types -> Add
 Manufacturer: cisco
 Model: ios

Devices -> platform -> Add
 Name: ios
 Manufacturer: cisco

Devices -> Devices -> Add
 Name: R1
 Device Type: ios
 platform: ios

Devices -> click R1 -> Add Components -> Interface
 Name: GigabitEthernet1
 Type: 1000BASE-T (1GE)

Devices -> click R1 -> Interfaces Tab -> + IP Address
 Address: 192.168.2.91/24
 select: make this the primary IP for the device
Now our netbox is ready to be used as inventory source for nornir network automation that we will talk in the next section.
